17. AWX Configuration
You can configure various AWX settings within the Settings screen in the following tabs:

Each tab contains fields with a Reset button, allowing you to revert any value entered back to the default value. Reset All allows you to revert all the values to their factory default values.
Save applies changes you make, but it does not exit the edit dialog. To return to the Settings screen, click Settings from the left navigation bar or use the breadcrumbs at the top of the current view.
17.1. Authentication
Through the AWX user interface, you can set up a simplified login through various authentication types: GitHub, Google, LDAP, RADIUS, and SAML. After you create and register your developer application with the appropriate service, you can set up authorizations for them.
From the left navigation bar, click Settings.
The left side of the Settings window is a set of configurable Authentication settings. Select from the following options:
Different authentication types require you to enter different information. Be sure to include all the information as required.
Click Save to apply the settings or Cancel to abandon the changes.
17.2. Jobs
The Jobs tab allows you to configure the types of modules that are allowed to be used by AWX’s Ad Hoc Commands feature, set limits on the number of jobs that can be scheduled, define their output size, and other details pertaining to working with Jobs in AWX.
From the left navigation bar, click Settings from the left navigation bar and select Jobs settings from the Settings screen.
Set the configurable options from the fields provided. Click the tooltip
 icon next to the field that you need additional information or details about. Refer to the Ansible Galaxy Support section for details about configuring Galaxy settings.
Note
The values for all the timeouts are in seconds.

Click Save to apply the settings or Cancel to abandon the changes.
17.3. System
The System tab allows you to define the base URL for the AWX host, configure alerts, enable activity capturing, control visibility of users, enable certain AWX features and functionality through a license file, and configure logging aggregation options.
From the left navigation bar, click Settings.
The right side of the Settings window is a set of configurable System settings. Select from the following options:
Miscellaneous System settings: enable activity streams, specify the default execution environment, define the base URL for the AWX host, enable AWX administration alerts, set user visibility, define analytics, specify usernames and passwords, and configure proxies.
Miscellaneous Authentication settings: configure options associated with authentication methods (built-in or SSO), sessions (timeout, number of sessions logged in, tokens), and social authentication mapping.
Logging settings: configure logging options based on the type you choose:

For more information about each of the logging aggregation types, refer to the Logging and Aggregation section of the AWX Administration Guide.
Set the configurable options from the fields provided. Click the tooltip
icon next to the field that you need additional information or details about. Below is an example of the System settings window.

Note
The Allow External Users to Create Oauth2 Tokens setting is disabled by default. This ensures external users cannot create their own tokens. If you enable then disable it, any tokens created by external users in the meantime will still exist, and are not automatically revoked.
Click Save to apply the settings or Cancel to abandon the changes.
17.4. User Interface
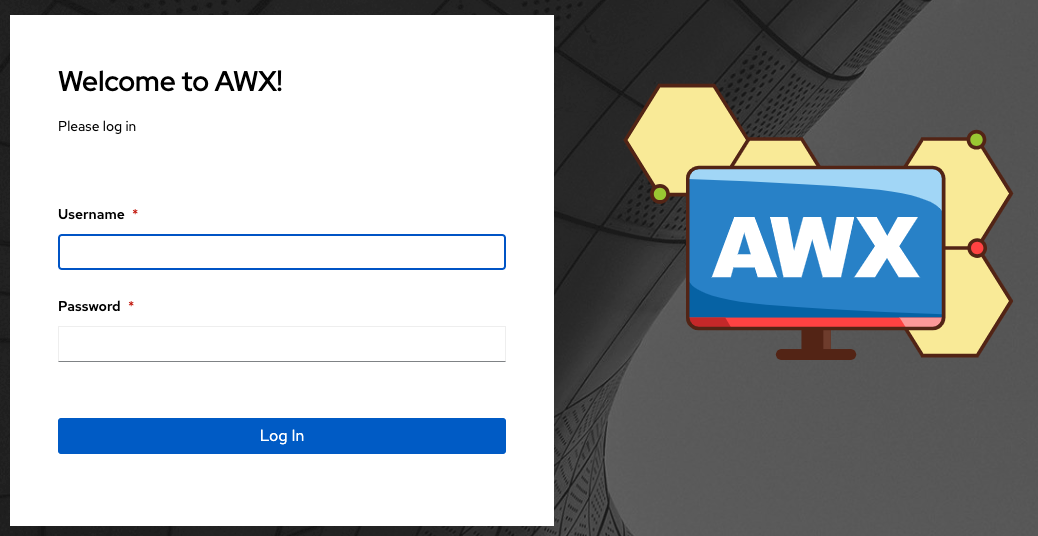
AWX supports the use of a custom logo and login message. You can add a custom logo by uploading an image; and supply a custom login message from the User Interface settings of the Settings menu.
For the custom logo to look its best, use a .png file with a transparent background. GIF, PNG, and JPEG formats are supported.
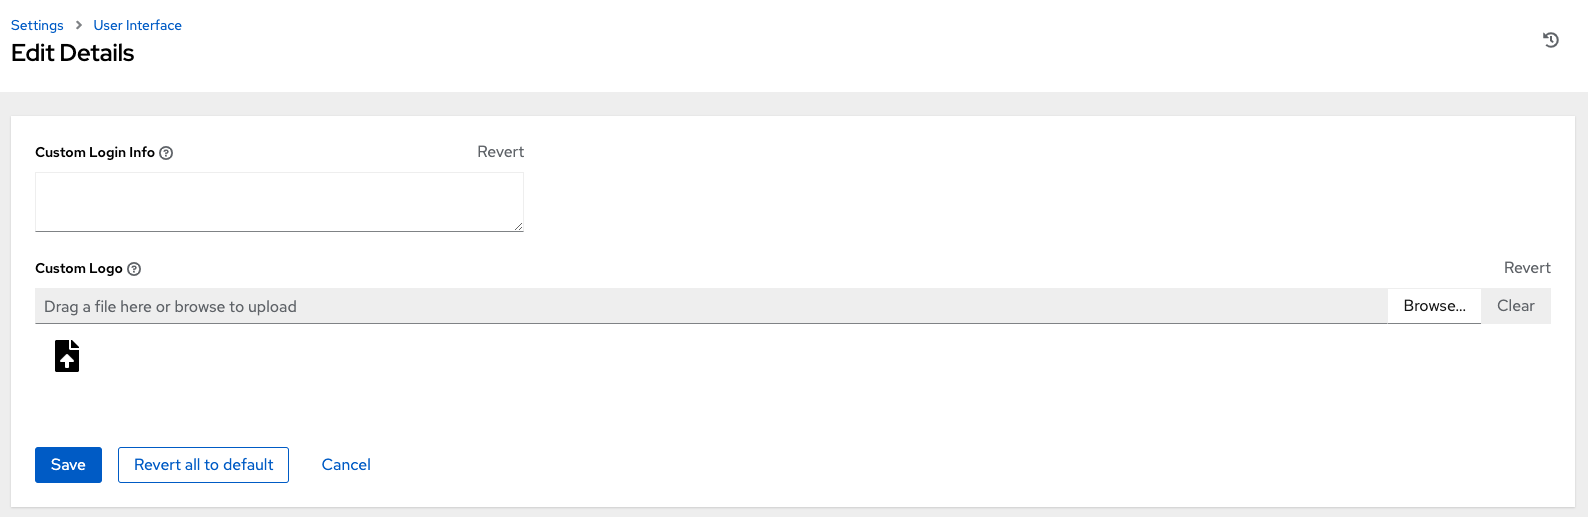
If needed, you can add specific information (such as a legal notice or a disclaimer) to a text box in the login modal by adding it to the Custom Login Info text field.
For example, if you uploaded a specific logo, and added the following text:
The Tower login dialog would look like this:
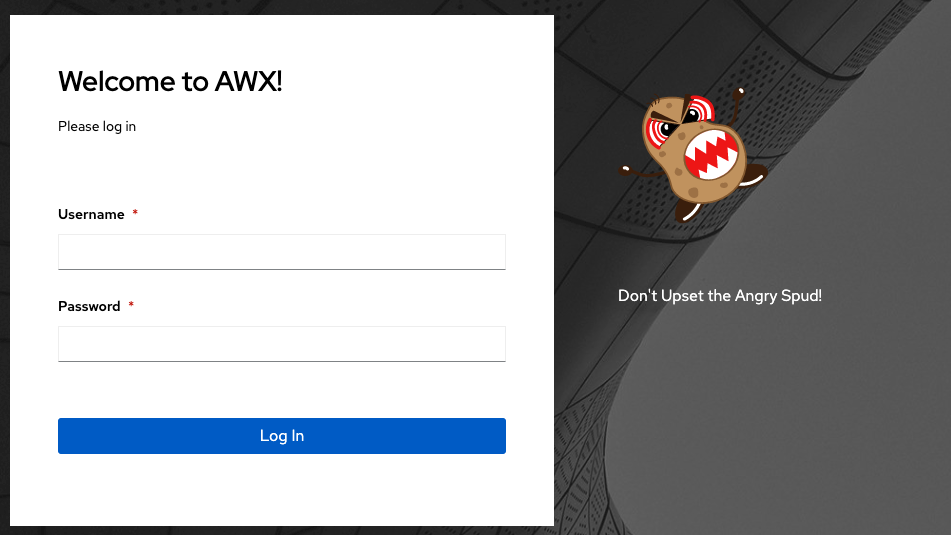
Selecting Revert will result in the appearance of the standard automation controller logo.